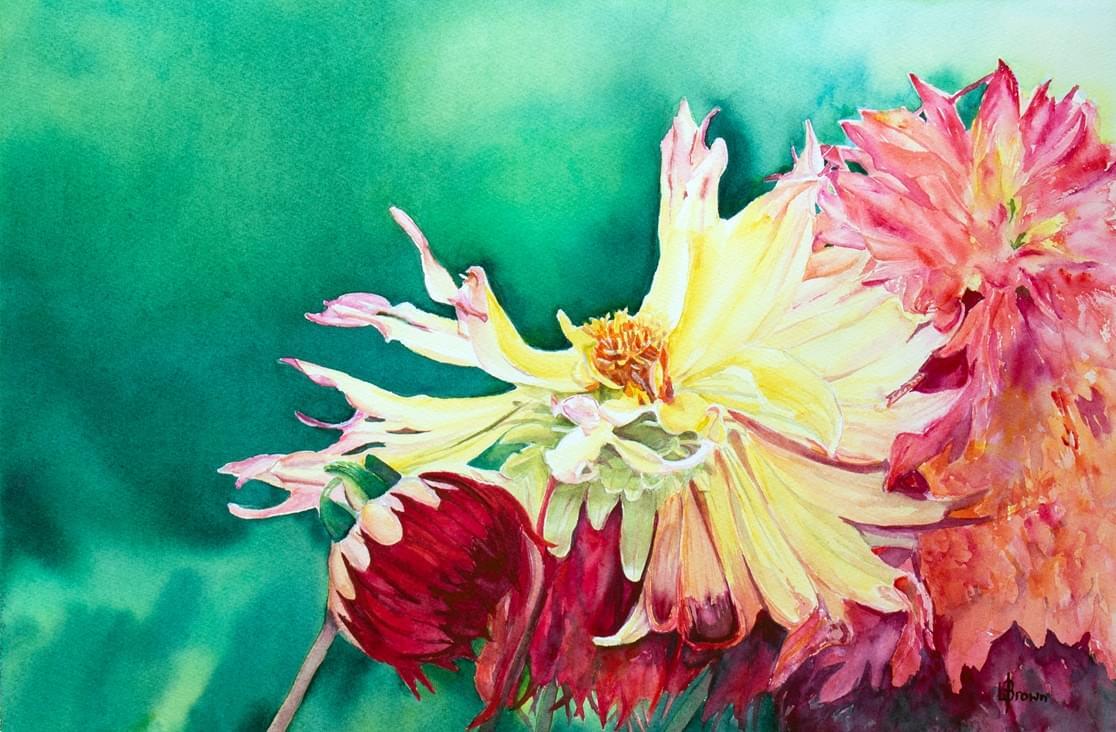
The Diva
It's been quite some time since I added a new blog post but at last I managed to remember to take WIP shots as I worked on The Diva.
The Inspiration:
My inspiration came from beautiful Dahlia images shared by Nancy Waldock.
My first thoughts when deciding to paint this Dahlia was the reference image contained several stages of this statement flower in bloom. The main star- (The Diva)
with her showy petals of reds and golds, her support , the bud waiting for its turn to shine and then the chorus girls in their flounces of colour.
This composition allowed for some detail painting and capture of the supporting blooms in a loose way with soft washes of fused colours.
The Process:
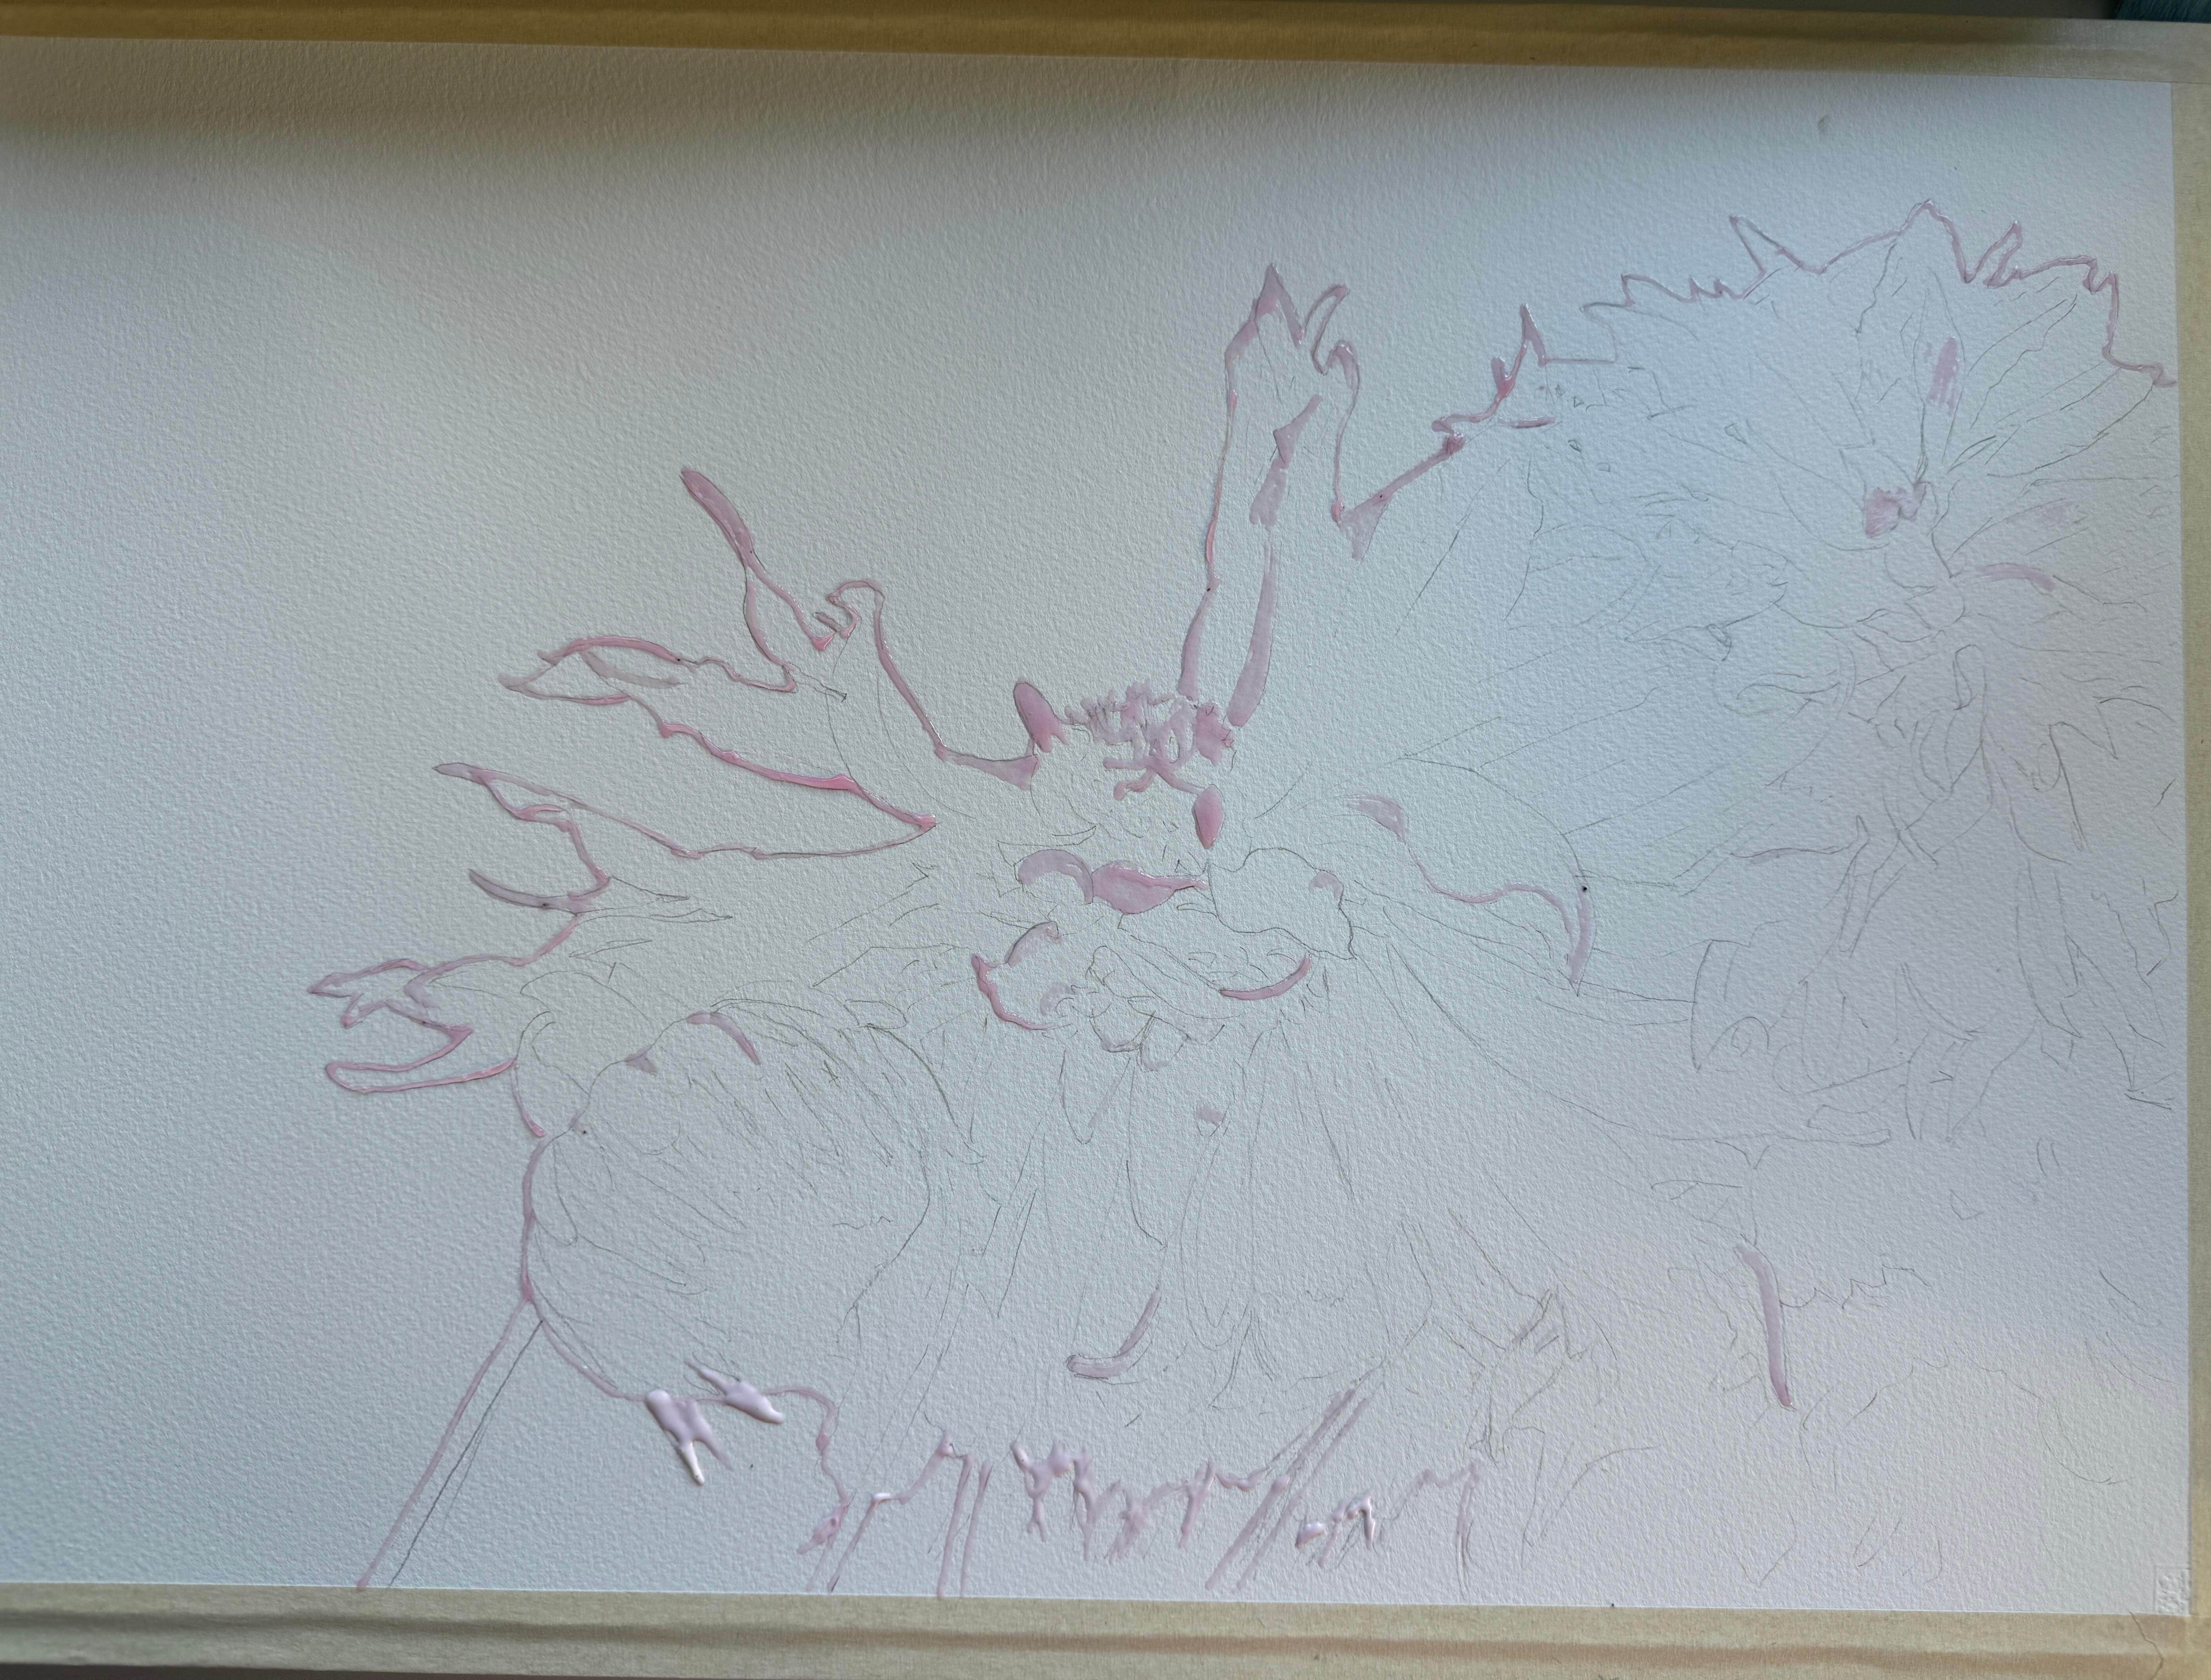
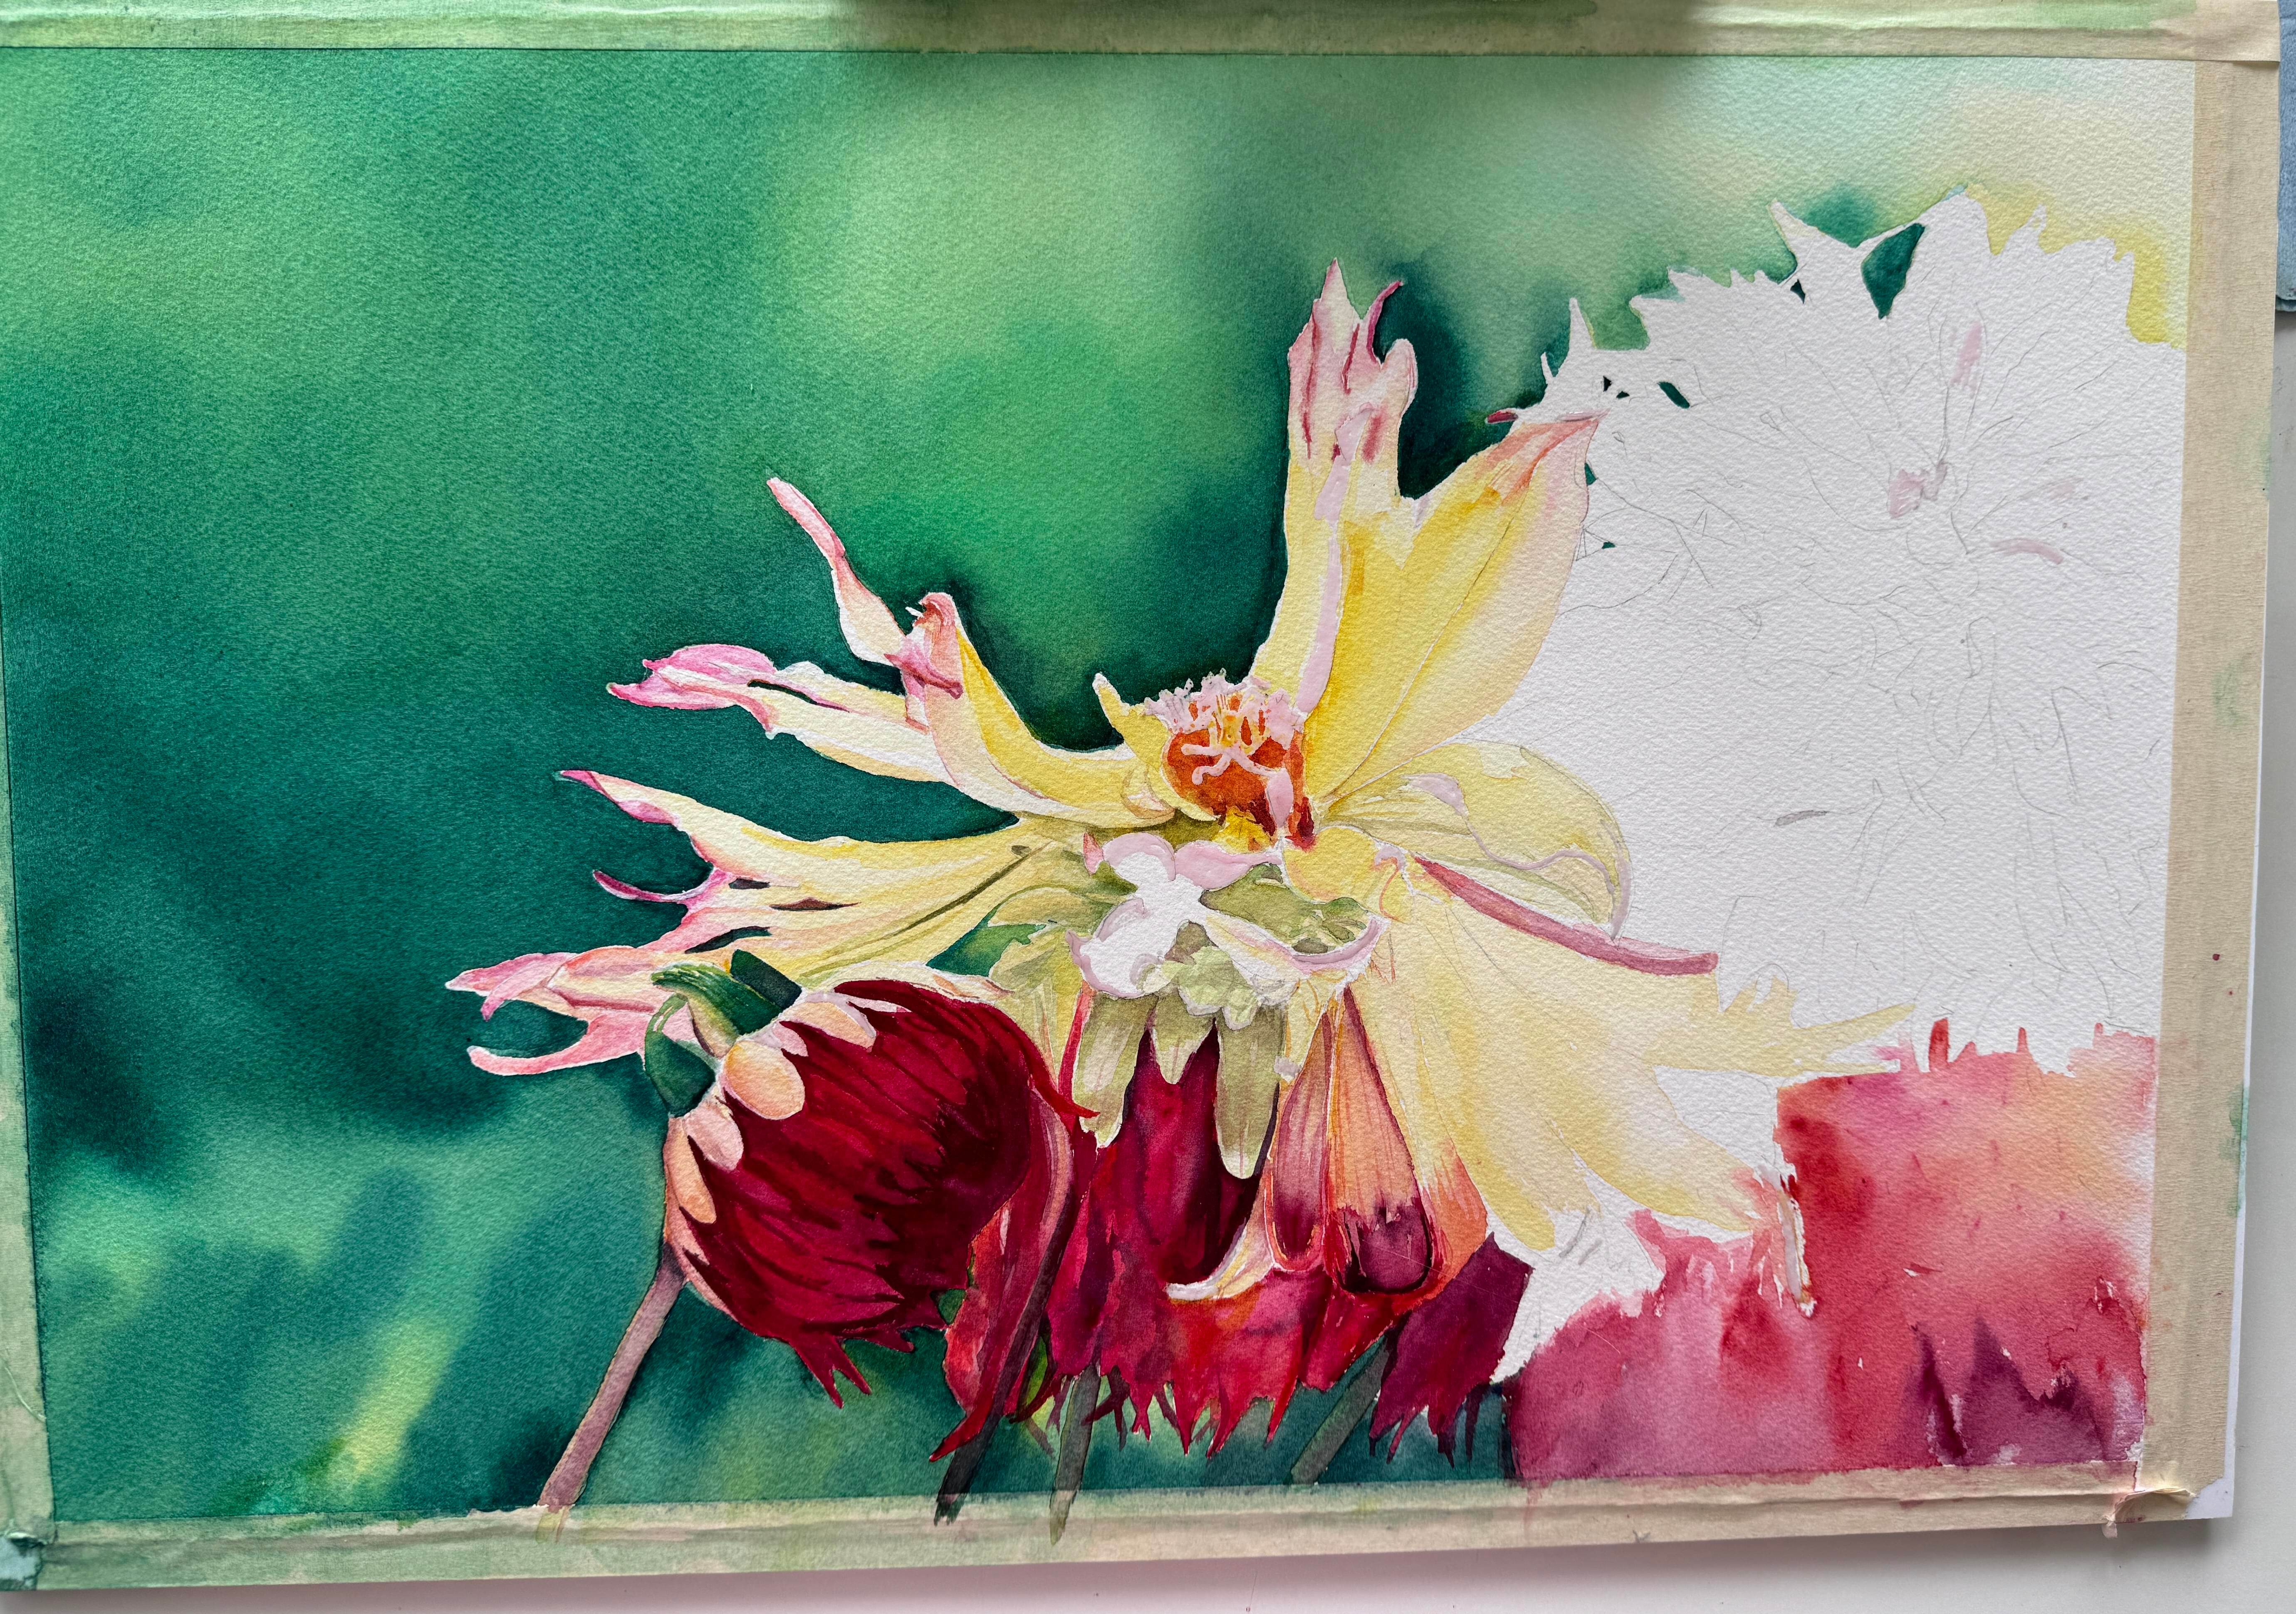
Starting with a slightly detailed drawing on 425gsm Saunders Waterford hi white paper in a half sheet (56x38cm) I added masking fluid to the edges of the outline of the petals and the highlights and allowed to dry.
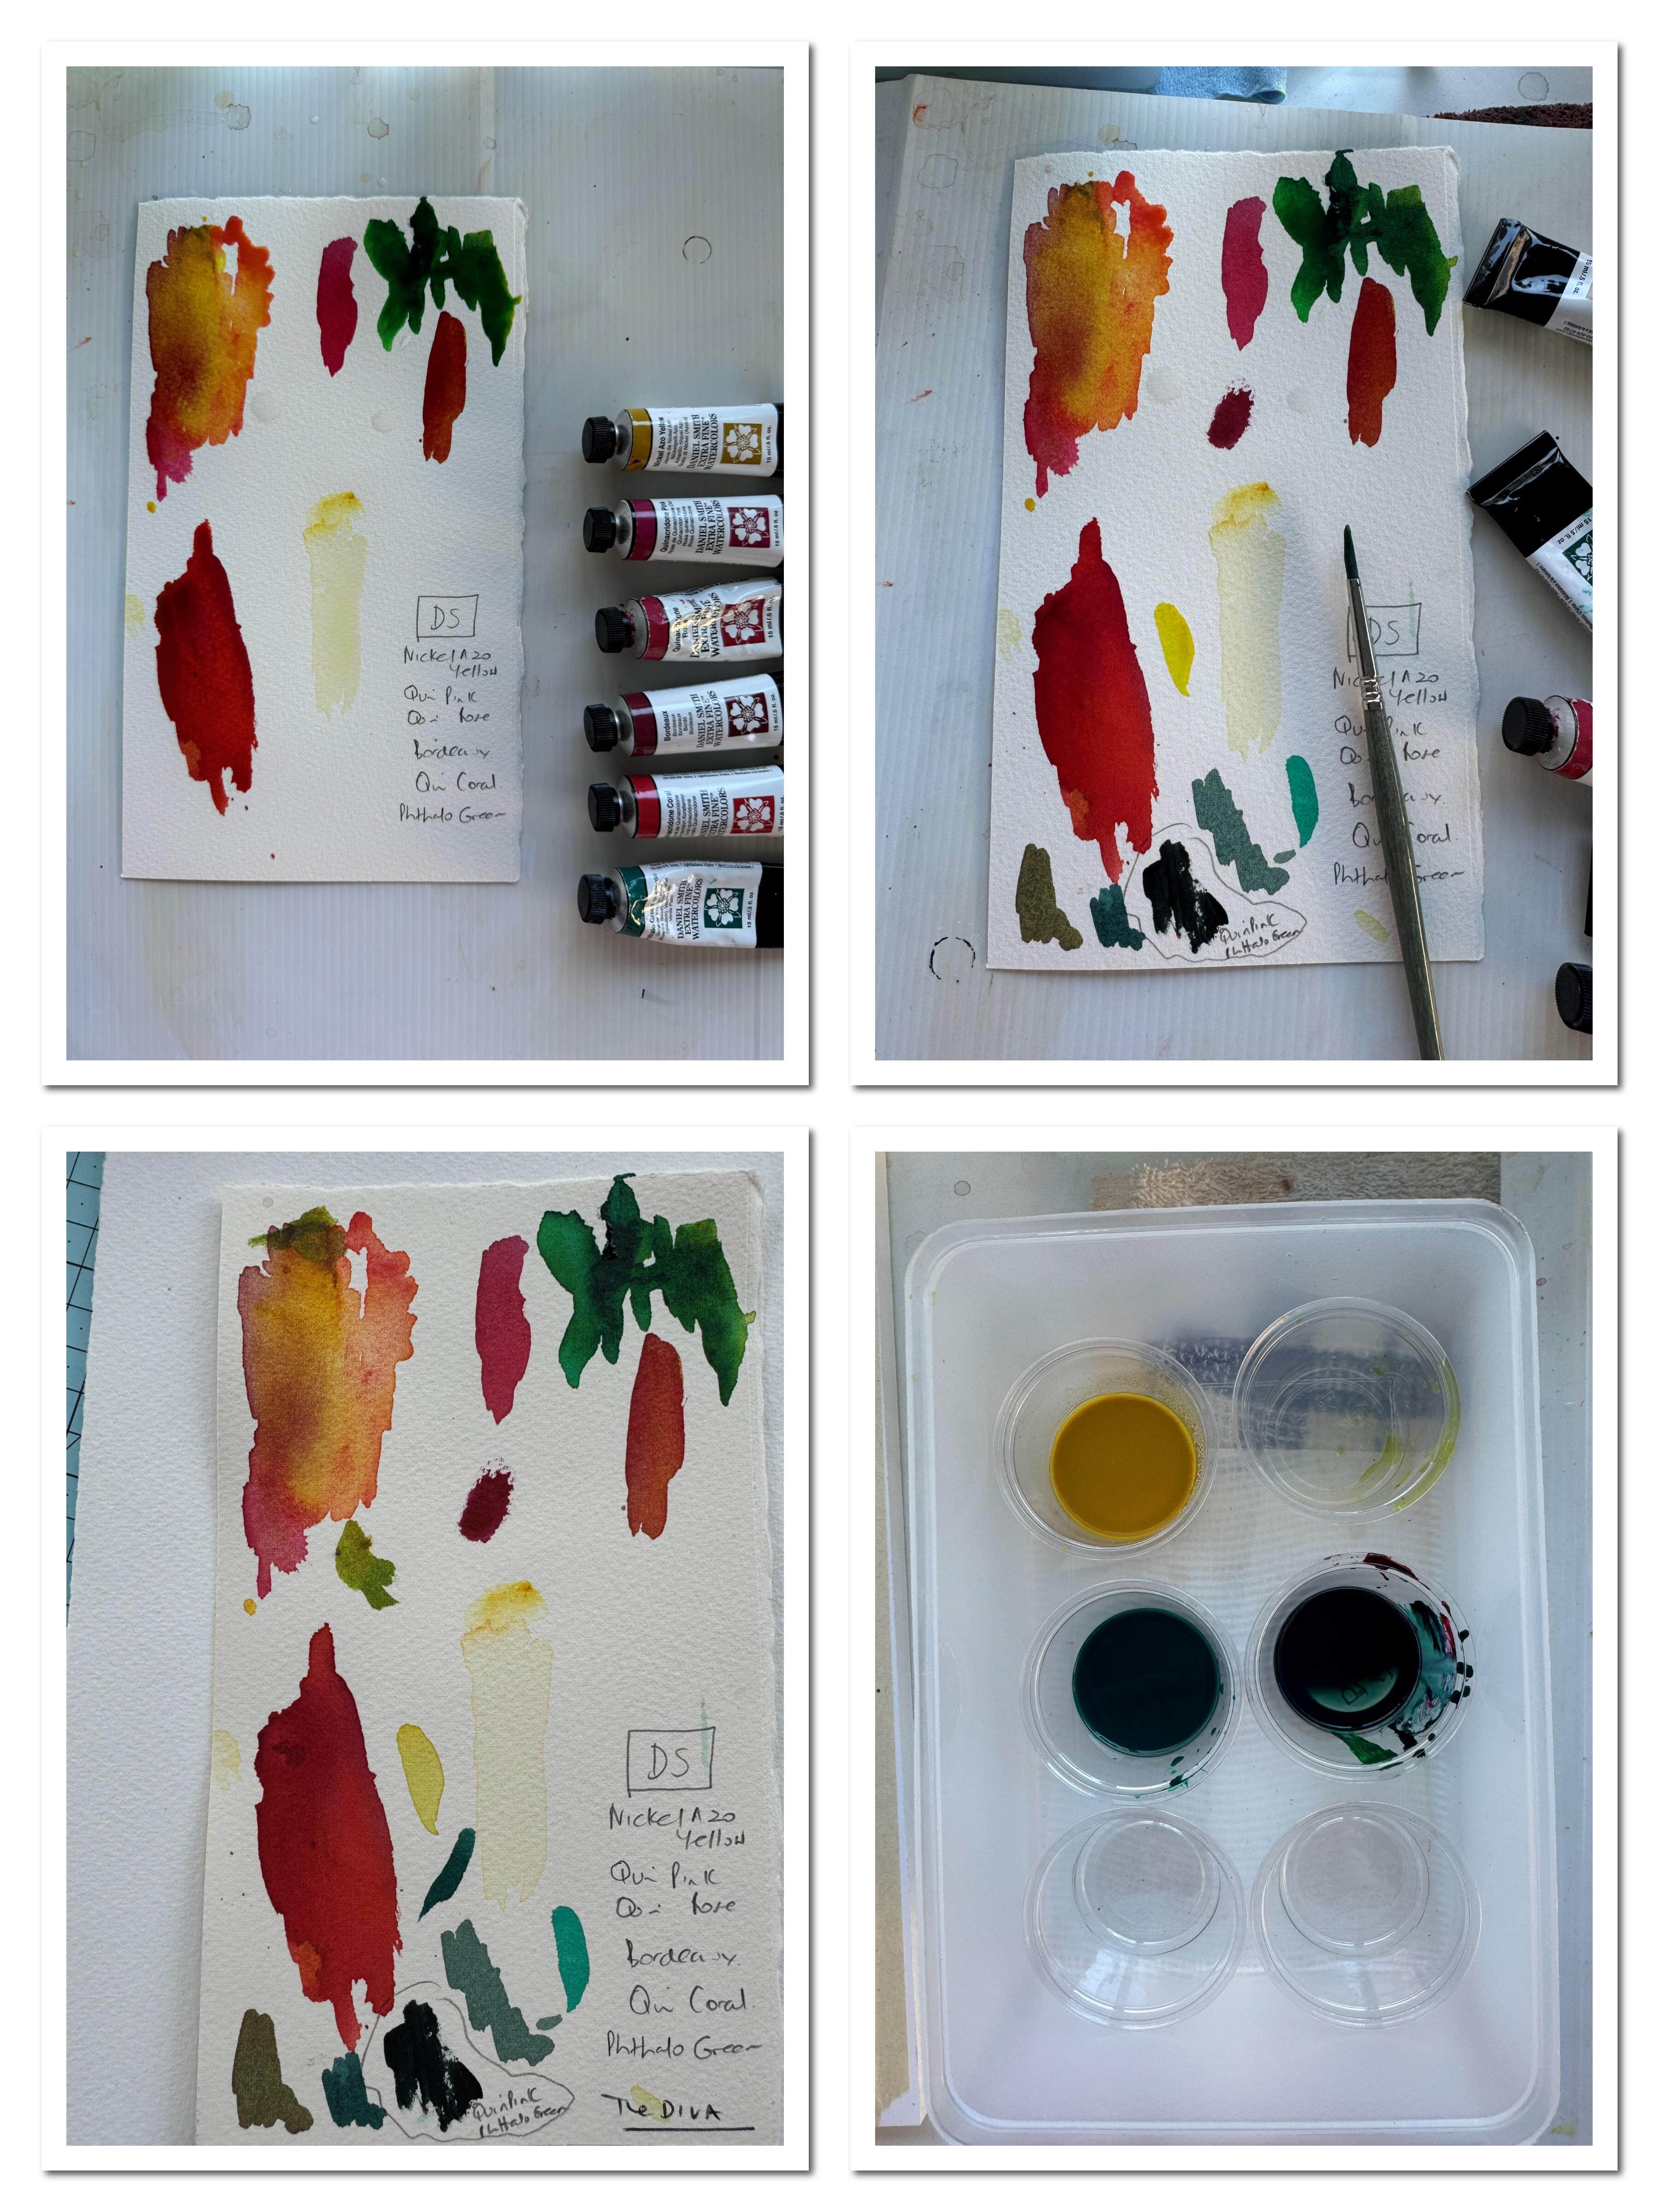
Having the masking fluid in place protecting the edges of the blooms I was able to use big washes of yellows and greens to add the background, I used both a large mop brush and a pipette to drop in colours and tilted my paper (that was attached with tape to my board) to get the colours to mix and mingle. Care was needed when doing this so the green didn't jump my barrier of masking fluid onto the petals. I let this dry overnight.

My studio session the next morning started with removing the masking fluid from the edges of the petals but leaving in the flowers themselves to preserve highlights and whites where needed.
Using my yellows and pinks I started to paint the petals, one by one. Whenever possible I wet the area first before dropping in my colour.
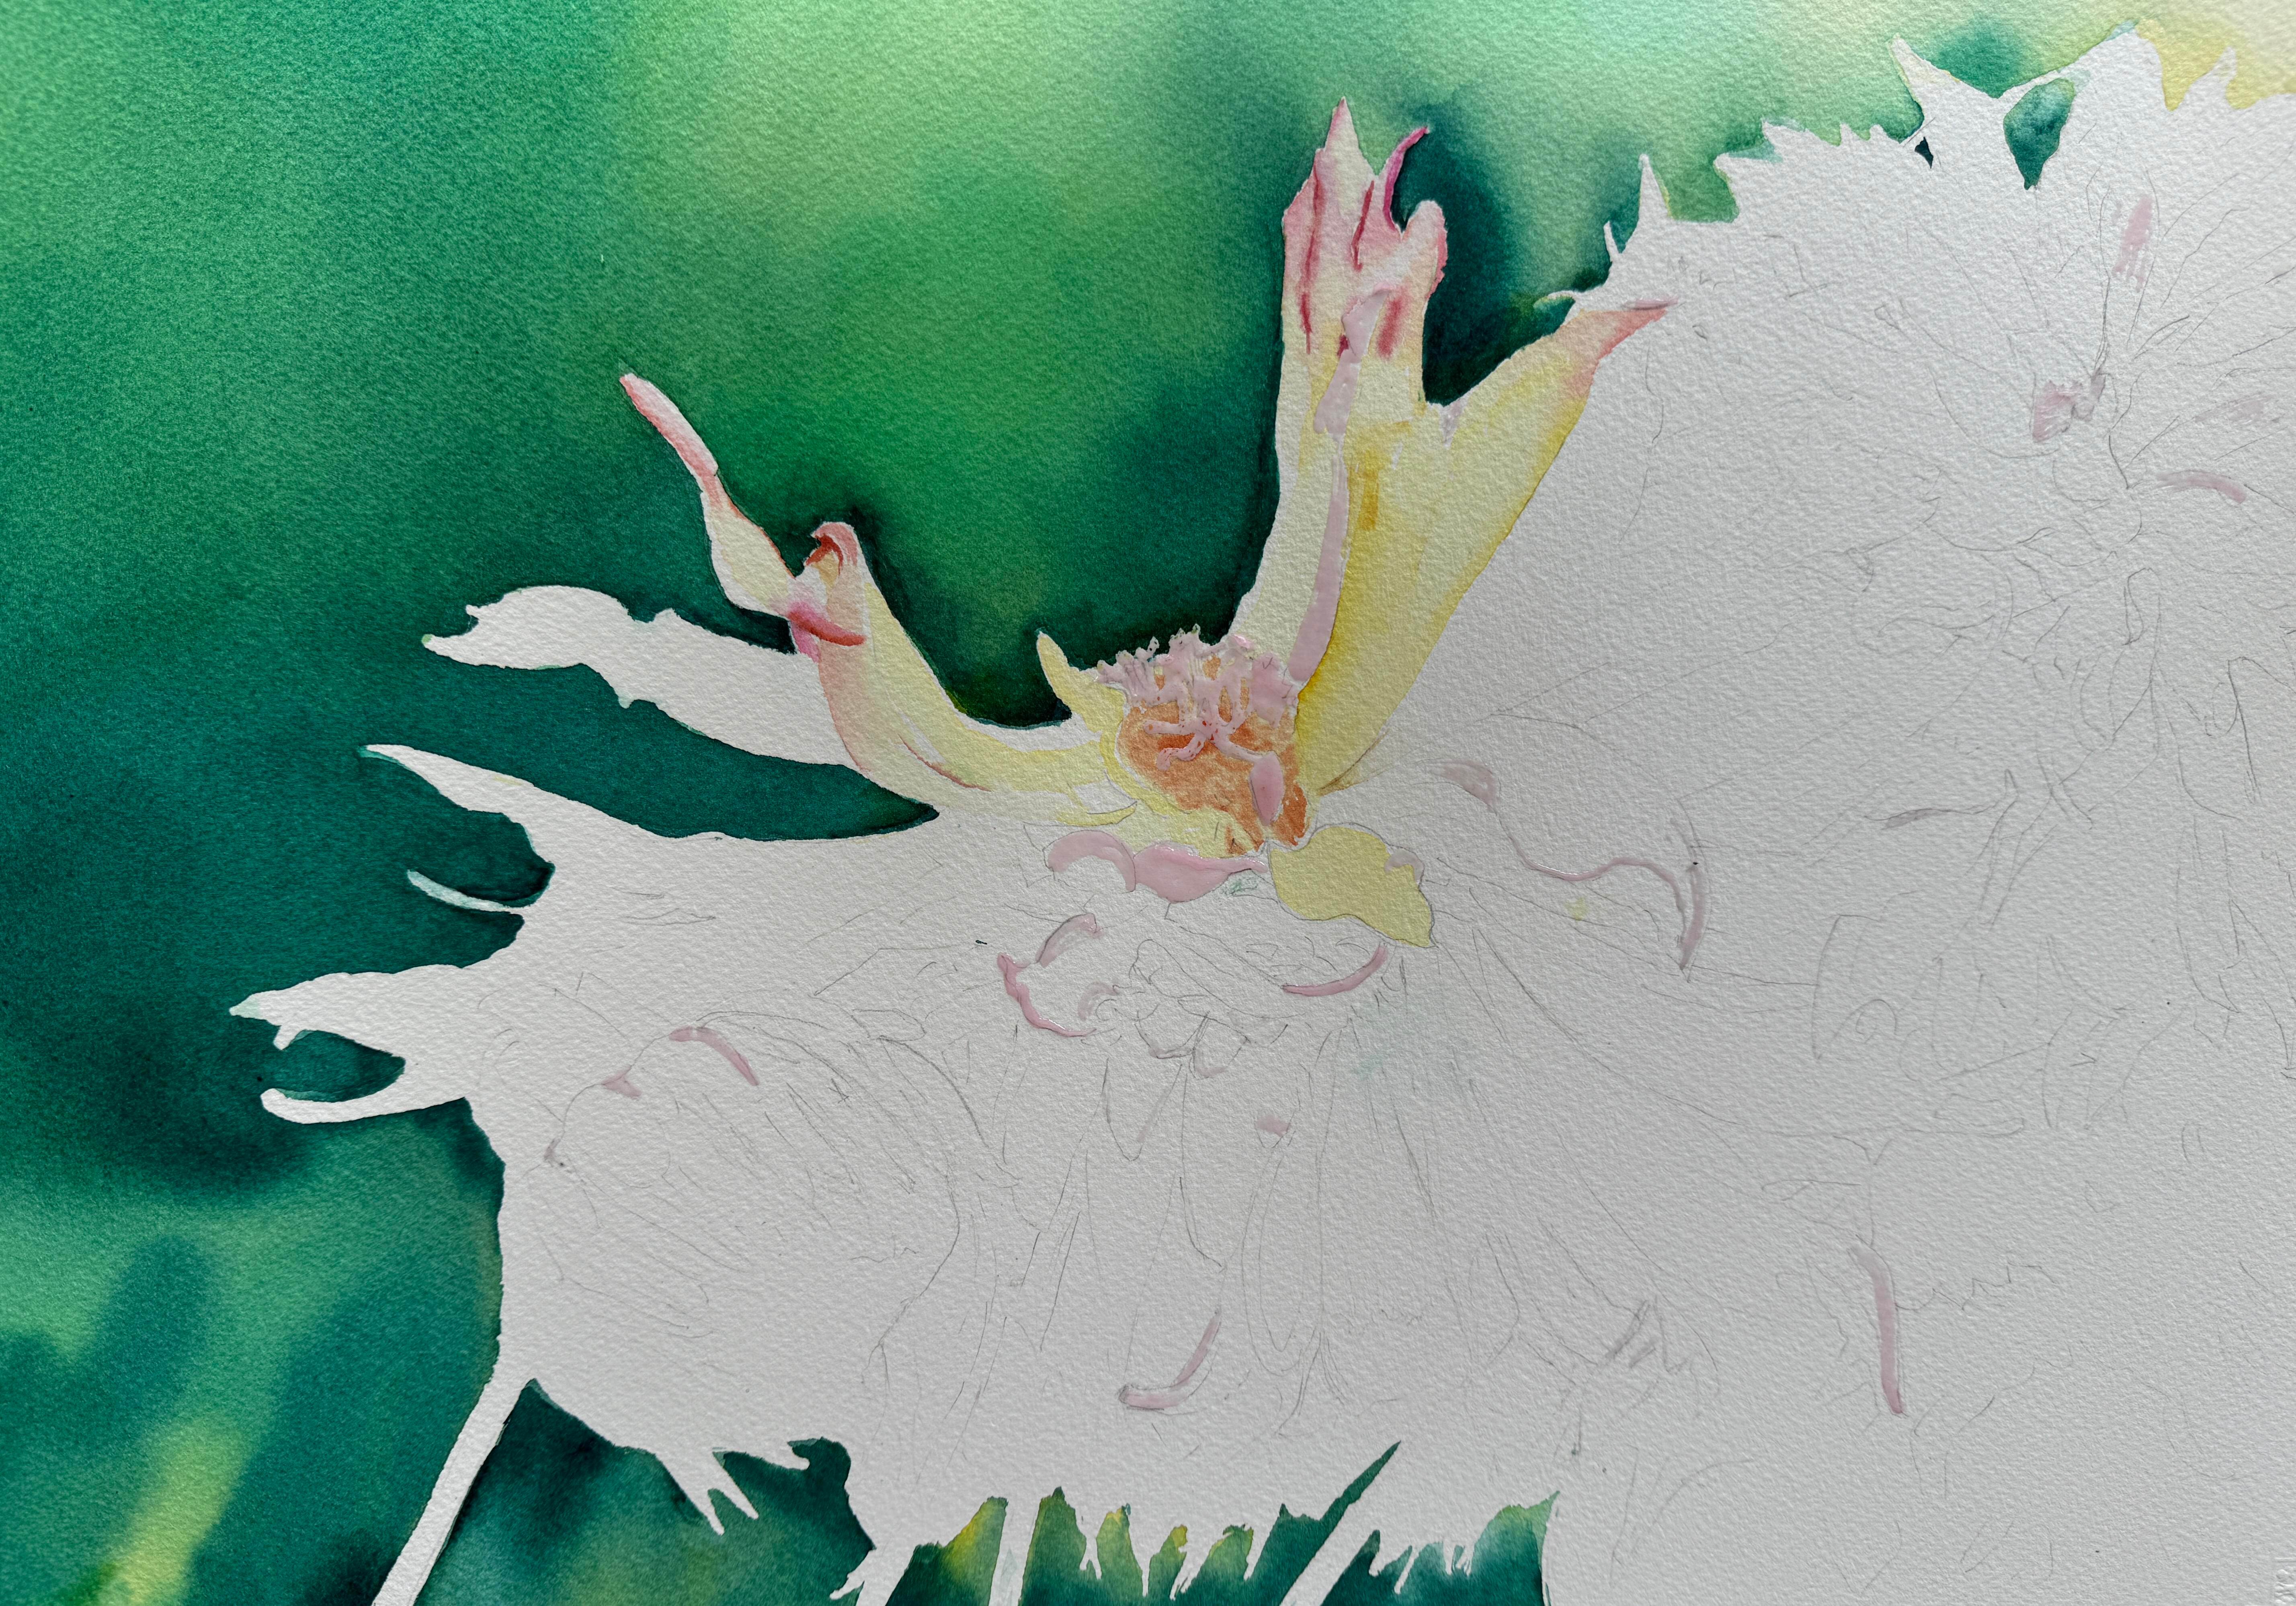
This was a slow process to build up the colour as each layer must be totally dry before adding the next.
The further I moved from the showy Diva and bud the less detail I used for the supporting blooms. This work took about 20 hours from inception to completion.
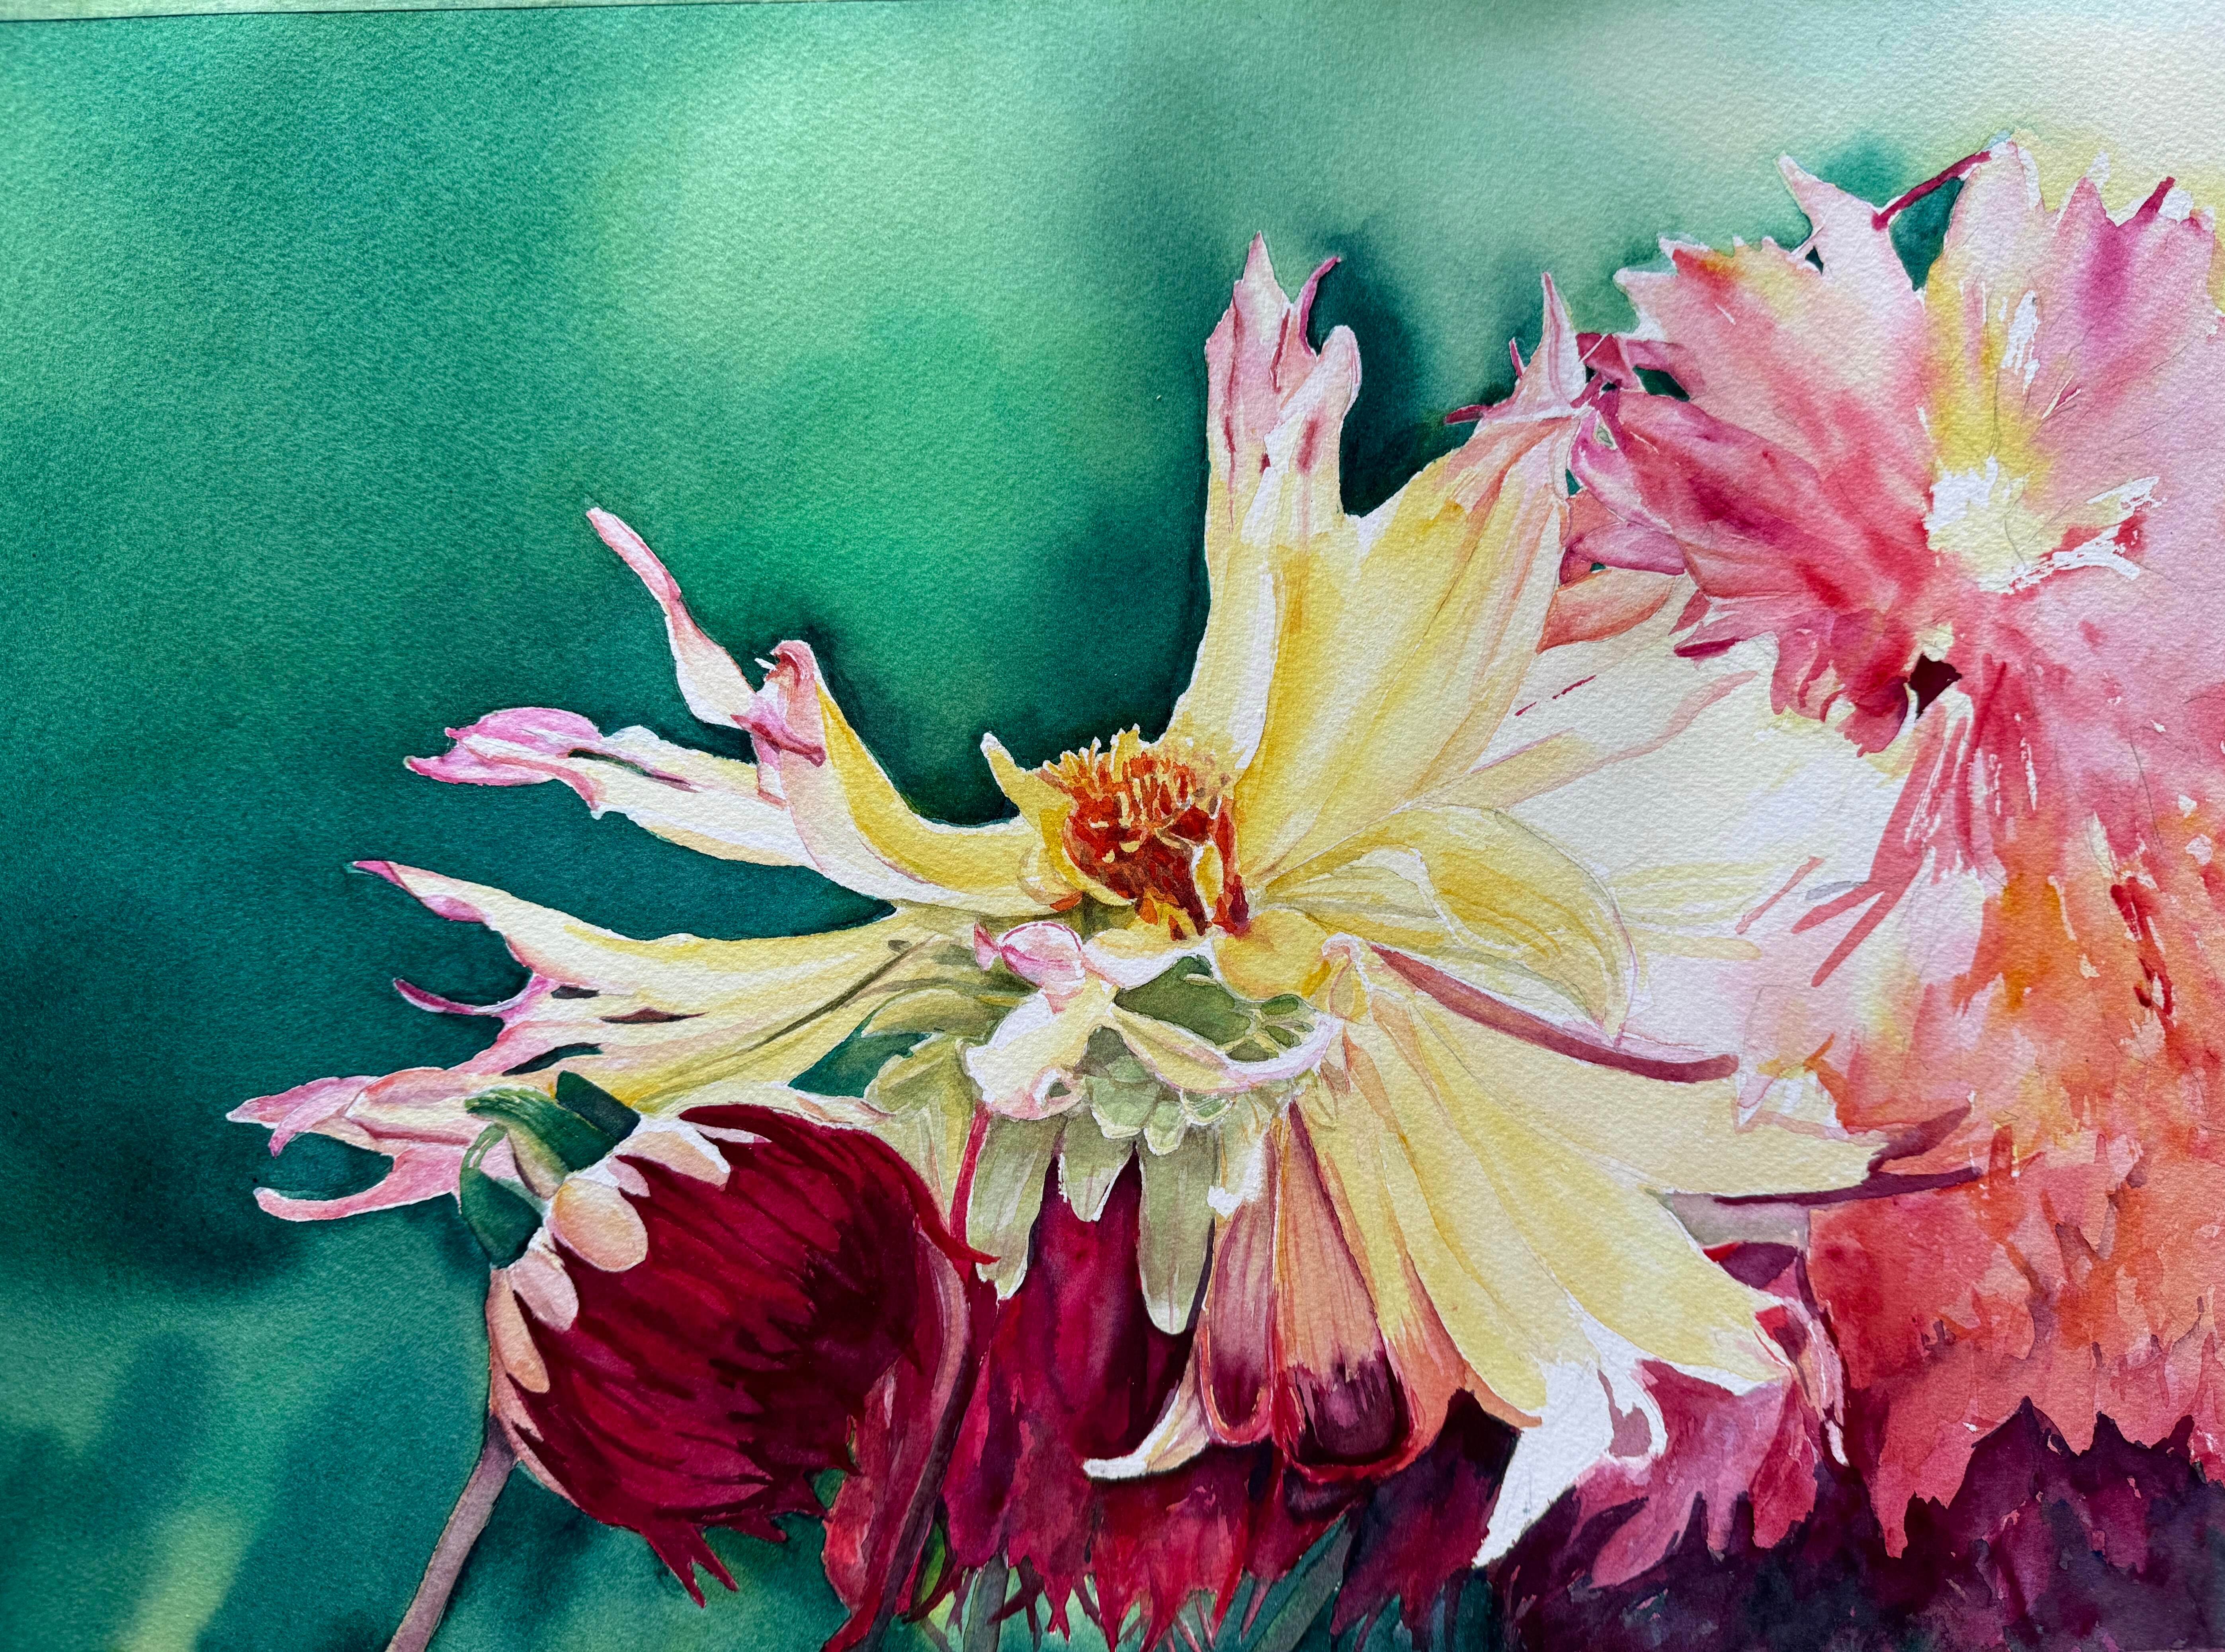
The final image of the finished work has been taken on my DSLR Canon camera where the WIP shots are unedited from my iphone so the finished colours of the completed painting are truer to the work. Of course all monitors show them a little differently but I always shoot my final image with my camera and compare colours and adjust my photo if needed in photoshop to get the best possible match to the work.